Second Floor Bathroom Plumbing Guide
Homeowners are always looking for ways to improve their homes – whether it be redecorating or remodeling. The idea of adding a second bathroom is appealing to many. You may be interested in doing so but don’t know where to start with second floor bathroom plumbing. Installing plumbing fixtures can be quite daunting and complicated. This basic guide has a few of the steps that need to be taken to install bathroom plumbing on the second floor of your home.
-
Step 1: Preparation
It is important to find out all the rules and regulations regarding bathroom plumbing before getting to work. Make yourself familiar with the building code of your state and ensure that you get the required permits where necessary. If you don’t get the correct permits, you could end up paying much more money if do something wrong and the inspector picks up on it.
It is important to do all the necessary research and be confident that you can install second floor plumbing correctly. Incorrect plumbing could result in you being sued by the future homeowner of your home if you choose to sell.
Be on the lookout for mold before you start installing bathroom plumbing. Look out for black spots and a musty smell. It is important to get this sorted out before you begin the installation process as it could affect the health of your family if left untreated. You need to know what you are looking for and where to look to ensure that you don’t miss anything. Plumbing experience will be very beneficial.
The best investment you can make during this step is to hire a licensed plumber. They know how the system works and will be able to help with the correct permitting adherence to the regulations easier than trying to do it yourself.
-
Step 2: Removing Dry Wall To Access Plumbing Lines
Before you begin, you will have to remove the dry wall in your bathroom that is closest to the plumbing lines. This will make connecting the plumbing lines to the new bathroom appliances easier if they are nearby. During this step the drain lines that will be used when installing the bathroom plumbing need to be located. Not having the necessary tools will make this step very difficult. It is important that the correct tools are used to ensure that the work is done properly. A general contractor will be your best friend during this step.
-
Step 3: Turning Off The Water Supply
You will have to locate the main water switch on your property for this step so that the main water supply is turned off. A licensed plumber will be able to help you with this task. Once this is done all taps inside your home will need to be opened to drain any water that may still be in the plumbing lines.
-
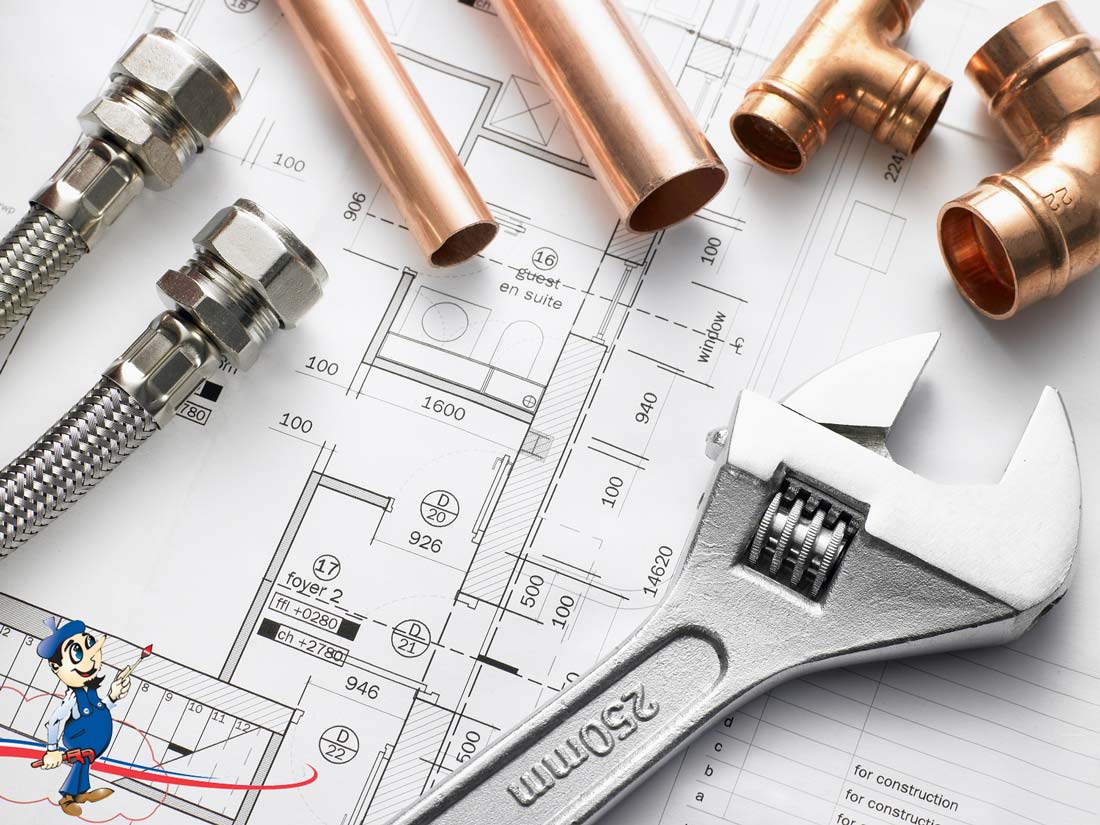
Step 4: Installing Water Lines
You will need 5 water lines in your new bathroom – a hot and cold one for the shower or bathtub, a hot and cold one for the sink and a cold one for the toilet. These lines can run either through the wall or from the floor up if it is above the first-floor bathroom plumbing. Loosely installed pipes could cause rattling and leakage. It is important that you install the lines correctly so that they are safe to use. This is a daunting task and definitely requires the services of a qualified plumber.
-
Step 5: Connect The Drain Lines
The drain lines for the shower/ bathtub, sink and toilet all have to be different sizes. You would need to have a good knowledge of plumbing in order to decide which size would be appropriate for your bathroom appliances. This is crucial in ensuring that they work efficiently. Incorrect drainage could result in water leaking onto the floor. In the case of a second-floor bathroom, it could penetrate through to the ceiling of the floor below. This could cause mold and the deterioration of the ceiling. Again, an experienced plumber will be able to handle this step with ease.
-
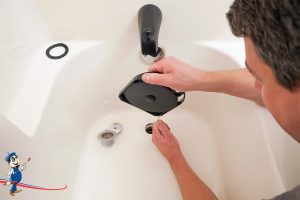
Step 6: Installing The Appliances
There are many plumbing fixtures that will now need to be installed. One is the toilet. Connecting the toilet takes skill, the last thing anyone wants is a misconnected waste pipe spewing sewage onto your new bathroom floor, and then having that seep through to the floor below. You also want to make sure that the toilet bowl is level – a lop sided commode is not comfortable. After attaching the tank, the water line will need to be connected.
To install the sink, you would need to secure the sink stand to the floor. This requires a lot of drilling and a precise hand to secure it to the floor. Once the stand is in place you will need to connect the hot and cold-water lines to the sink and attach the handles, stopper, and drain. If this is not all done professionally, you will have a leak on your hands that will become a costly affair to fix.
Finally, the bath tub or shower will need to be installed and connected to the drain line and pipes. Yet again, this is another area where unskilled hands could really cause a costly mess.
For all your plumbing needs the licensed plumbers at Art Plumbing, AC, and Electric are here to help.